Today you will need both of your 6" x 7" flap pieces, and your Magnetic snap.
If you've put a snap in before, today's assignment will be easy peasy!!
Step 1- Match up your flap pieces with right sides of fabric facing each other. Sew around 3 of the side, 1/2" seam allowance, leaving one short side open.
Step 2- Clip the corners off close to the stitching line.
Step 3- We are going to set the "male" side of the snap into the end of the flap.
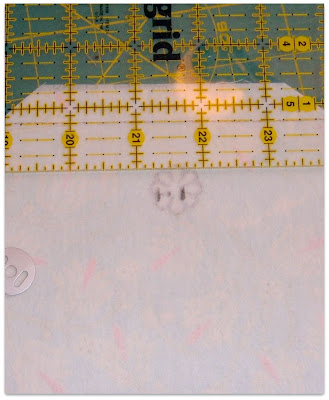
Measure down 1 and 1/2" from the top edge. Center the washer below that, and mark openings with a pencil.

Step 5- Put the snap inside the flap, and thread the posts through the slits.
Step 6- Put the washer over the posts.
 Step 7- Fold posts to each side. If you can't do this with your fingers use the side of a spoon. I guess you could use an actual tool from the tool box, but I prefer to do it the quick and easy way.
 Step 8- Turn your flap right side out. Poke your corners out so that it is nice and square.
 Step 9- Press the edges of the flap flat.


No comments:
Post a Comment